Reduce image file size: PNG, JPEG, or WebP?
Written by Webutila · Updated · How we maintain our guides
Need an image below an upload limit? Start with its pixel dimensions, choose a format the destination accepts, and check the saved file. A smaller file and a different file format are separate goals.
How to reduce an image below 1 MB or another upload limit
- Check the destination's accepted formats, byte limit, and minimum pixel dimensions. A request for JPG means conversion; a 1 MB limit means the saved file must also be small enough.
- Open Image Compressor to resize and compress. For a photo without transparency, start with JPEG, Quality 82%, and Maximum side 1280 px, provided the destination accepts those dimensions.
- Select Compress images and read the output size. If it is still too large, try 800 px or lower JPEG quality, while keeping any required minimum dimensions. For transparent artwork, choose PNG or supported WebP and resize instead of converting to JPEG.
- Download the result, check its actual size in your file manager, and inspect faces, text, and edges. Upload only when both size and appearance meet the requirement.
There is no automatic “under 1 MB” mode: each image needs its own check. These settings are starting points, not a guaranteed size or a claim of visually identical output. If the original is already smaller and looks better, keep it.
Try a transparent sample before using your own files
Download the practice PNG (1200 × 800 pixels). This original synthetic pattern contains colored gradients, sharp edges, and transparent corners; it contains no personal photo or location metadata.
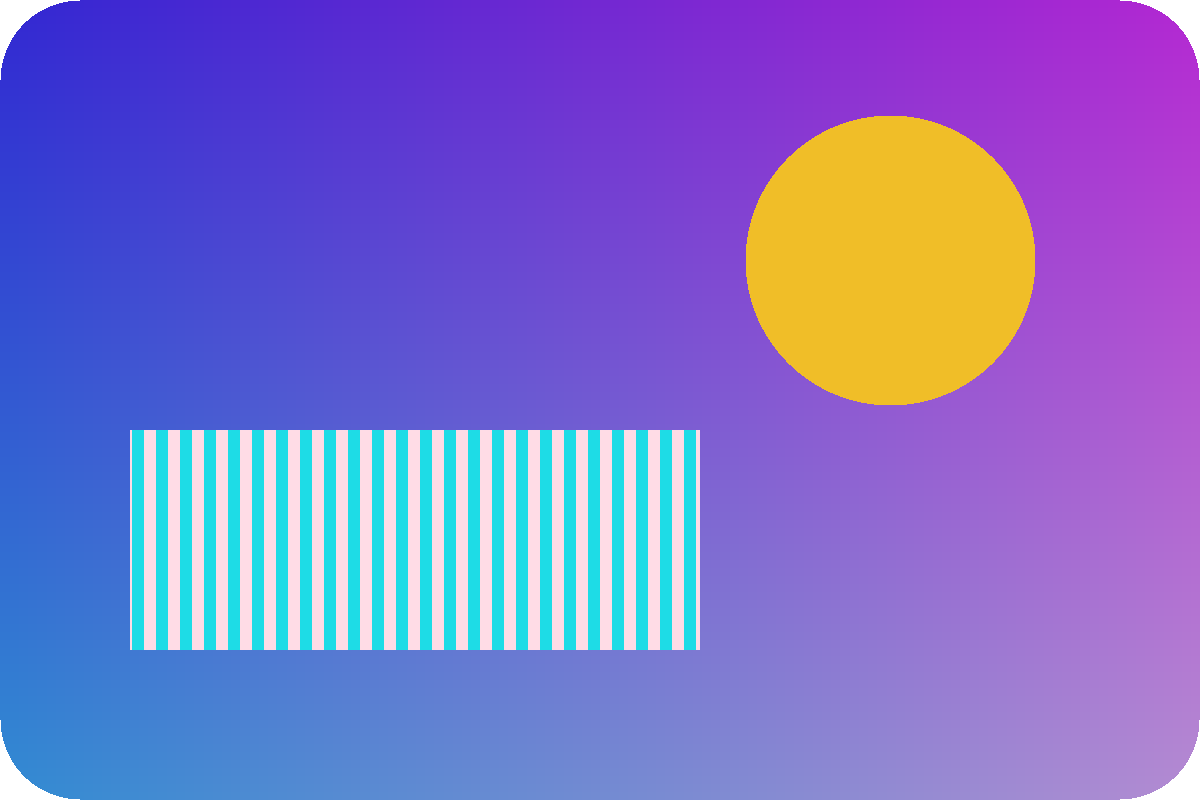
- Choose the downloaded PNG in Image Compressor.
- Set Output format: PNG (lossless) and Maximum side: 800 px. Compress and download it. The result should be 800 × 533 pixels; transparent corners remain transparent. The PNG label describes encoding, while resizing still changes the pixel data.
- Repeat from the original with Output format: JPEG, Quality: 82%, and Maximum side: 800 px. Expect the same dimensions, white corners instead of transparency, and possible differences around sharp edges.
- Compare the saved files at the same display size. File sizes vary by browser encoder; neither a specific byte count nor a compression percentage is promised.
If only the format needs changing, use Image Converter without resizing; this sample should remain 1200 × 800 pixels.
Choose a format for the destination
| Format | A useful starting point | Watch for |
|---|---|---|
| PNG | Transparent logos, screenshots, diagrams | Photos can be large; a quality slider is not a PNG compression guarantee |
| JPEG | Photos and upload forms accepting JPG | No transparency; repeated lossy re-encoding can reduce detail |
| WebP | Web images where the destination accepts it | Reading and exporting depend on different browser capabilities |
Convert when the format is the problem
If a form accepts JPG but you have PNG, use Image Converter. Conversion preserves pixel dimensions. In Webutila, transparent pixels become white when exported as JPEG. For a logo that needs to sit on several background colors, preserve transparency with PNG or supported WebP instead.
Renaming photo.heic to photo.jpg does not change its encoding. HEIC input depends on browser decoding support. If your device cannot read it, export a compatible copy from a photo application first. AVIF and HEIC export are not available here.
Resize when pixel dimensions are excessive
A 4000 × 3000 photo resized with a 1600-pixel maximum dimension becomes 1600 × 1200. That keeps the aspect ratio while reducing the number of pixels from 12 million to 1.92 million. It does not predict the final number of bytes, which also depends on image detail, format, encoder, and quality.
- Keep the original image for printing and future editing.
- In Image Compressor, choose a suitable format and maximum dimension.
- Inspect text, faces, edges, and gradients in the output.
- Compare actual sizes and keep the result only if it meets the destination's needs.
Read the savings correctly
If a 4 MB image becomes 1 MB, the reduction is (4 − 1) / 4 × 100 = 75%. This is an illustration, not a promised result. A well-optimized source can become larger after re-encoding. PNG may also be larger than the JPEG photo it came from.
Batch limits and privacy
Test one small image before starting a larger batch. Batch processing is limited to 10 images, 25 MB and 40 megapixels each, and 75 MB and 80 megapixels combined. The ZIP output limit is 80 MB. Device memory can impose a lower practical limit. These tools re-encode images, remove original EXIF/GPS metadata, and do not preserve animation.
Why did the result not meet the requirement?
- The output is larger than the original
The source may already be well compressed, or the new format may be a poor match. Try a smaller maximum side or a supported lossy format; keep the original when it is the better result.
- The logo has a white background
JPEG cannot preserve transparency. Start again from the original transparent image and select PNG or supported WebP.
- The phone displays WebP but cannot export it
Decoding and canvas export are separate capabilities. Select PNG or JPEG when WebP output is unavailable. On phones that offer Share / Save, save to Files and open that saved image to verify the format.
Check the final destination
Upload a non-sensitive copy to the intended website or document. Confirm that it accepts the format, displays the background correctly, and does not enlarge a small image so much that it looks blurred. “Smaller” is useful only when the result still does its job.